
使い道に困って貯まりがちな、マイニンテンドーアカウントのプラチナポイント。
アイコンパーツの購入に使えます。

プラチナポイントとは?
マイニンテンドーポイントプログラムで貯めることができるポイントの1種です。
利用するにはニンテンドーアカウントを登録する必要があります。無料で登録できるので、Nintendo Switchで遊ぶなら登録しておくといいです。
マイニンテンドーポイントプログラムでは2種類のポイントが貯まります。
| ポイント種類 | 使い方 | 入手方法 |
| ゴールドポイント | 1ポイント=1円で 使用できる | ゲームカード購入 ゲームのダウンロード購入 |
| プラチナポイント | グッズの購入 アイコンパーツ購入 | アプリで遊ぶ ミッション遂行など |
ゴールドポイントは、ゲームカードの購入(購入後にコードの登録が必要)、ダウンロード版ゲームソフトの購入で入手できます。利用方法としては、ニンテンドーeショップにてダウンロード版ゲームソフトを購入する際、1ポイント=1円で利用できます。
いわば、お金の代わりに使えるポイントです。わかりやすく、使いやすいです。
一方、プラチナポイントは、任天堂ゲームのアプリで遊んだり、Nintendo Switch Online(有料会員)で出題される「ミッション」を達成すると入手できます。
プラチナポイントの難点は、お金の代わりに使えないことです。そのため、ゴールドポイントに比べて、利用方法が限定されます。今回はアイコンパーツの購入方法を紹介します。
アイコンパーツの購入方法
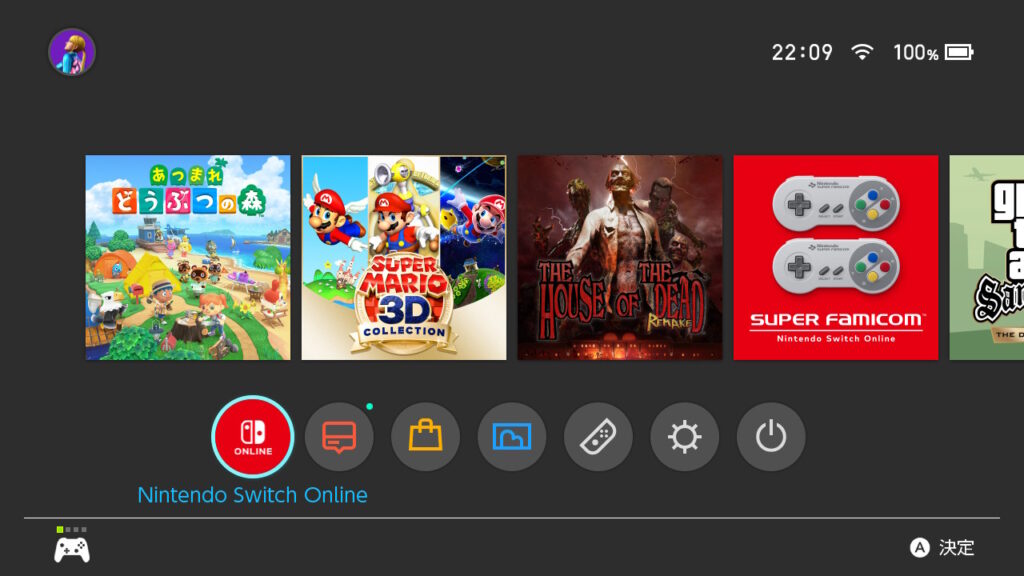
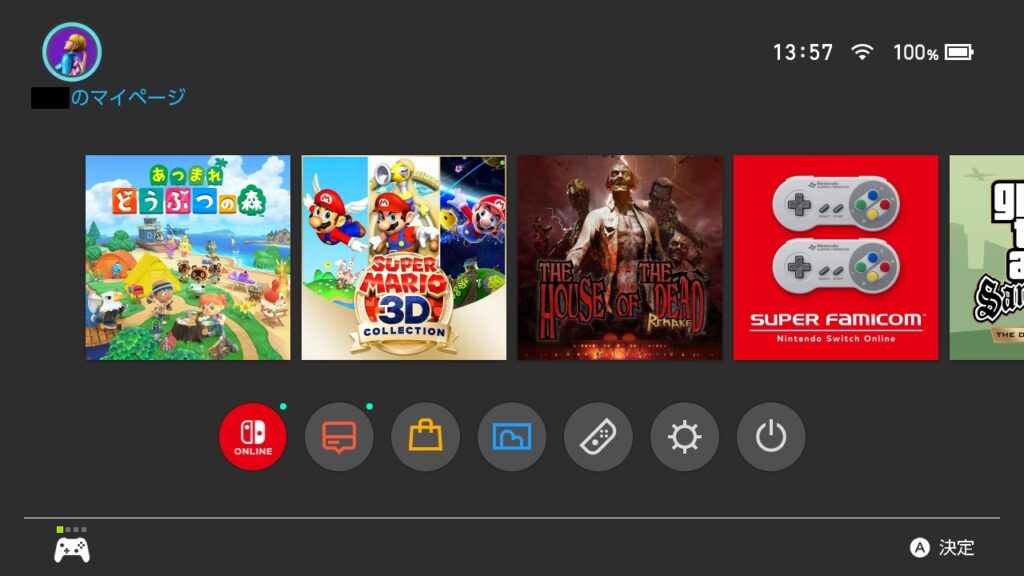
Nintendo SwitchのHOME画面から、「Nintendo Switch Online」を選びます。
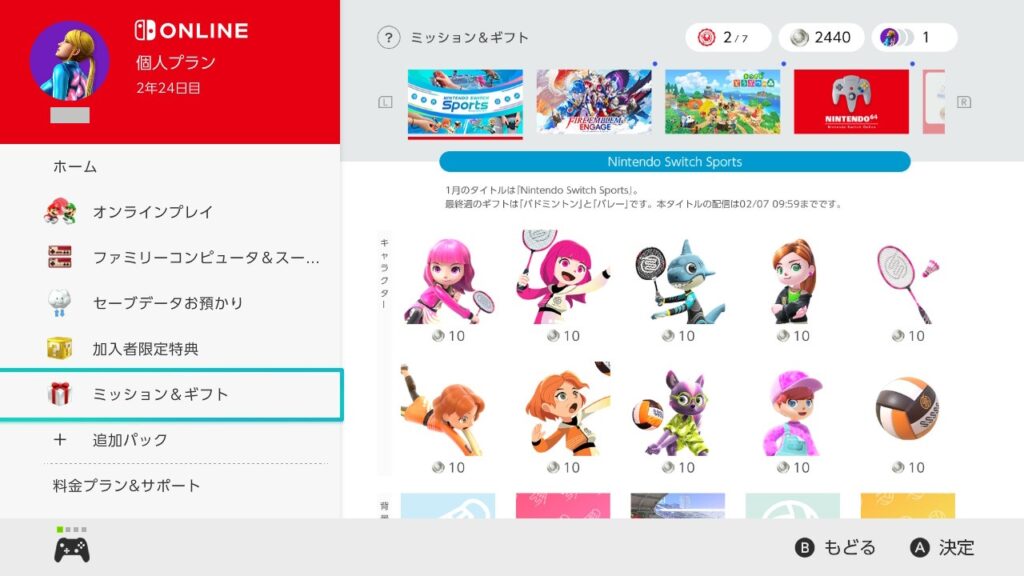
「ミッション&ギフト」を選びます。
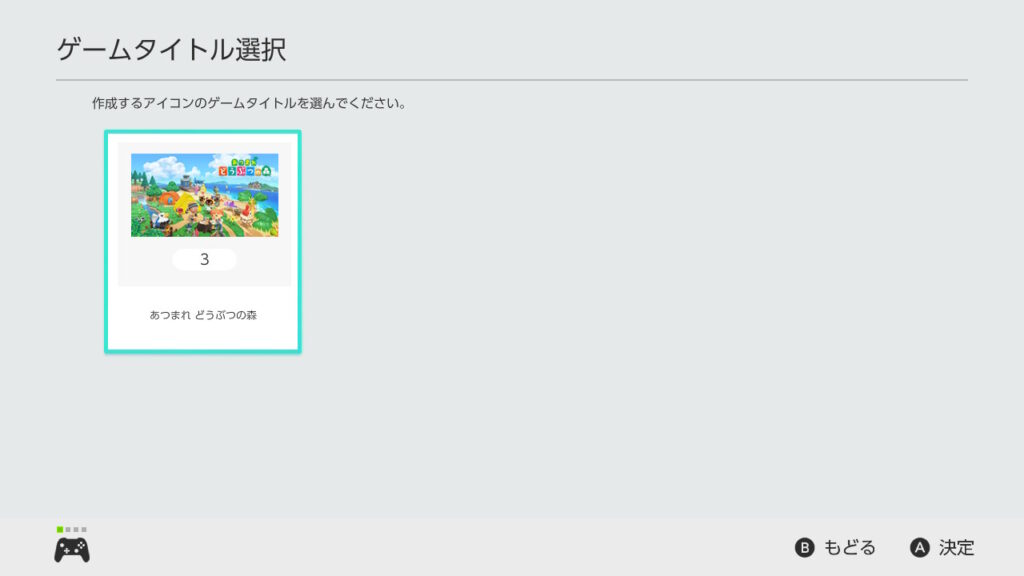
Lボタン・Rボタンで、タイトルを選択します。今回は筆者の独断と偏見で「あつまれ どうぶつの森」を選びます。
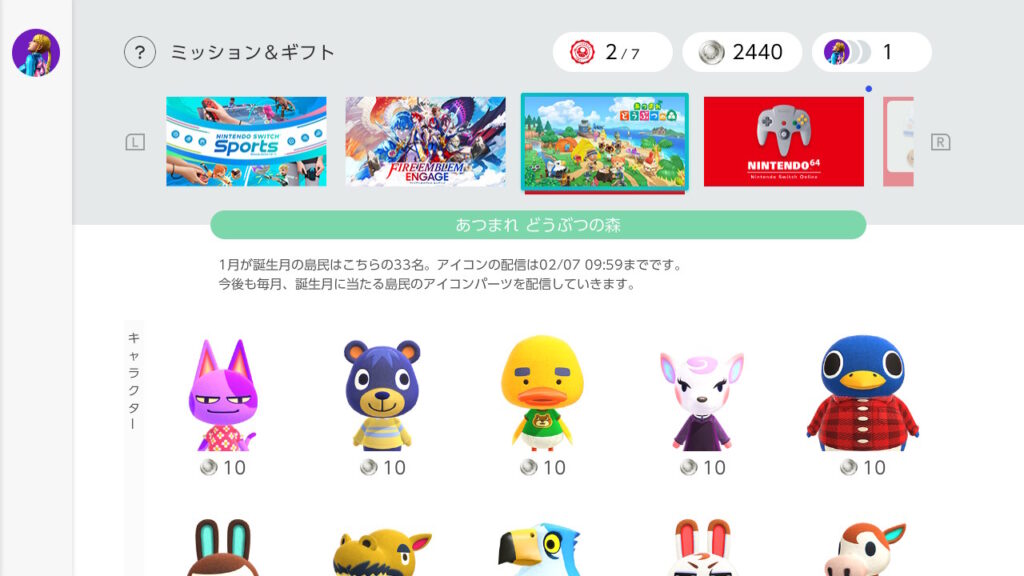
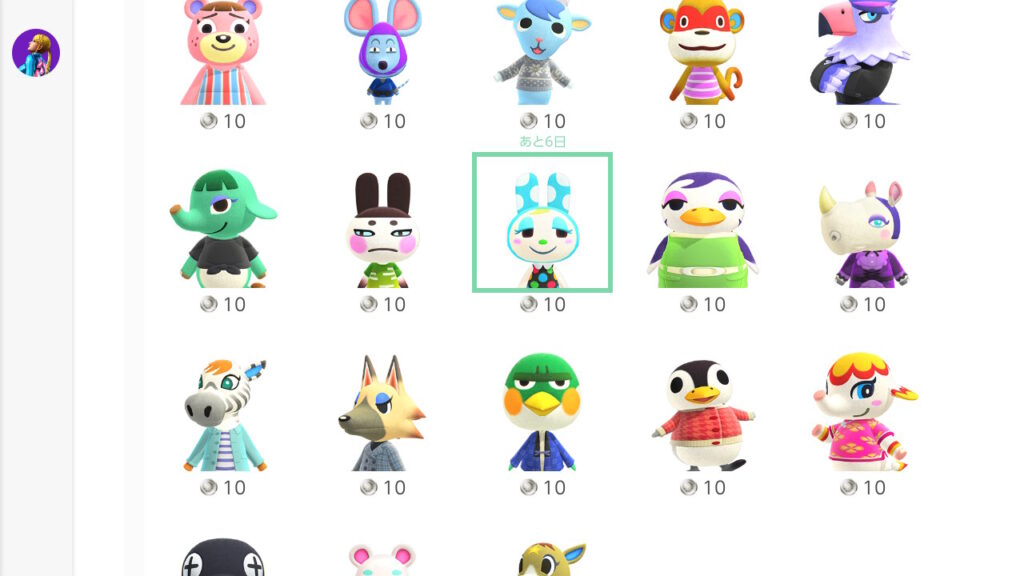
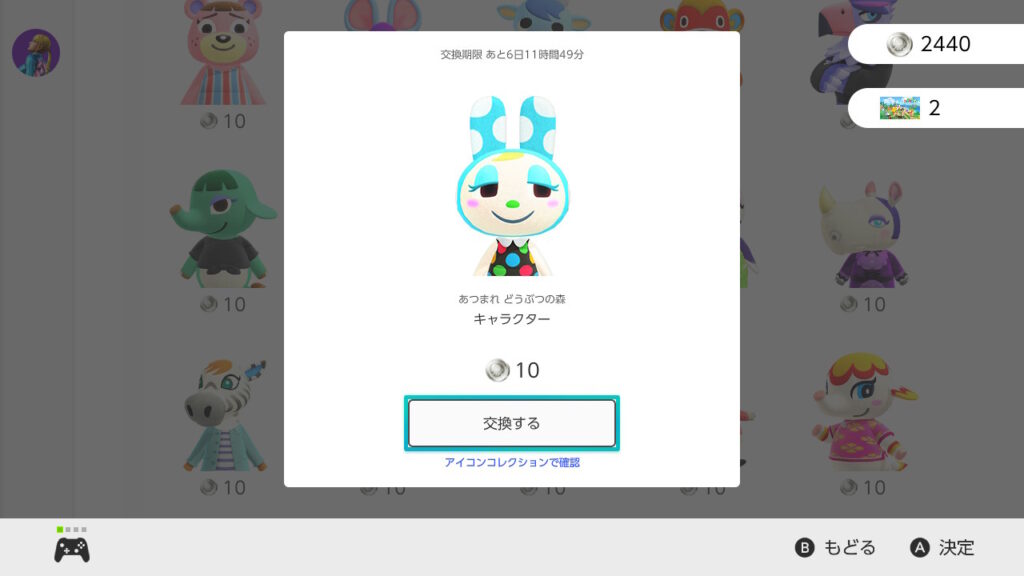
「あつまれ どうぶつの森」では、当月が誕生日のキャラクターをアイコンとして選ぶことができます。下記画像は1月にキャプチャしているので、誕生日が1月のキャラクターが表示されています。購入に必要なプラチナポイント数も表示されています。ここでは、ウサギの「フランソワ」を選びます。
「交換する」を選びます。プラチナポイントと10枚と引き換えに、フランソワのアイコンが入手できます。
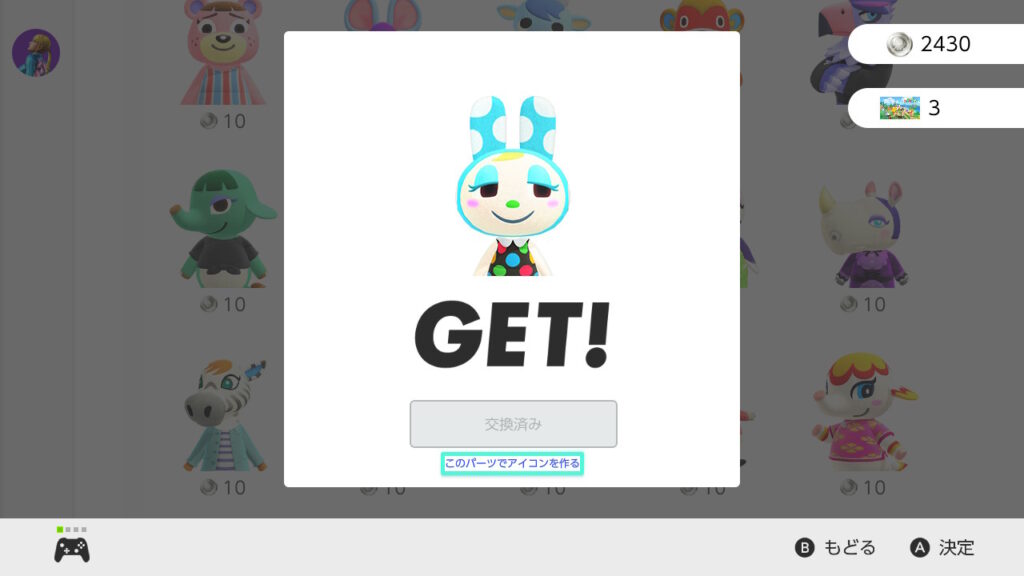
フランソワのアイコンを入手しました。アイコンを作らない場合は、Bボタンで前画面に戻ります。今すぐアイコンを作る場合は、次の章へ読み進めてください。
入手したパーツでアイコンを作成する方法
アイコンパーツ入手画面からアイコンを作成する方法
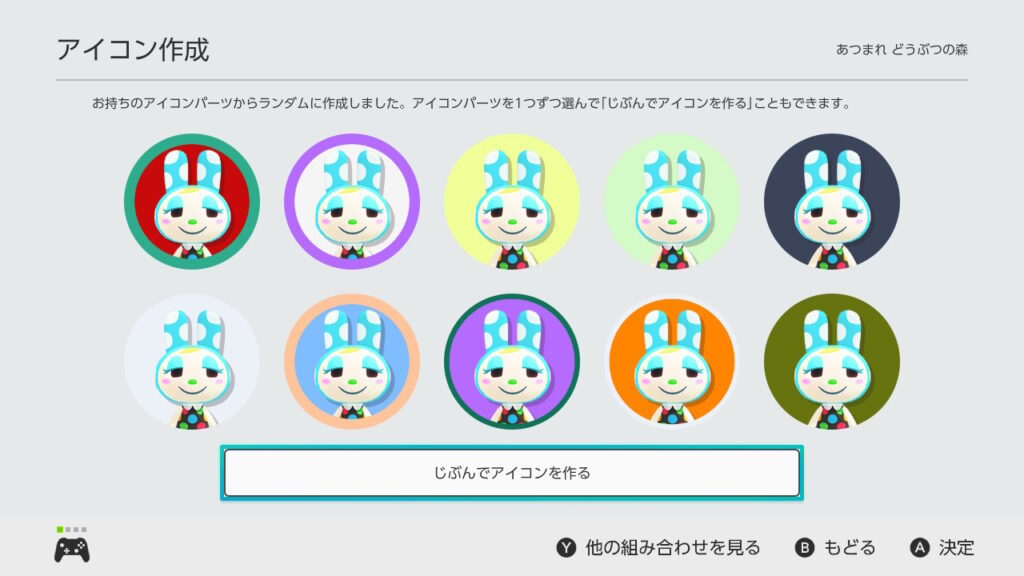
アイコンパーツ入手した直後から、アイコン作成に移ることができます。アイコンを作る場合は、「このパーツでアイコンを作る」を選んでください。
フレームと背景カラーがランダムで選ばれます。気に入ったものがあれば、この中から選んでも良いです。フレームと背景を自分でカスタマイズする場合は、「じぶんでアイコンを作る」を選びます。
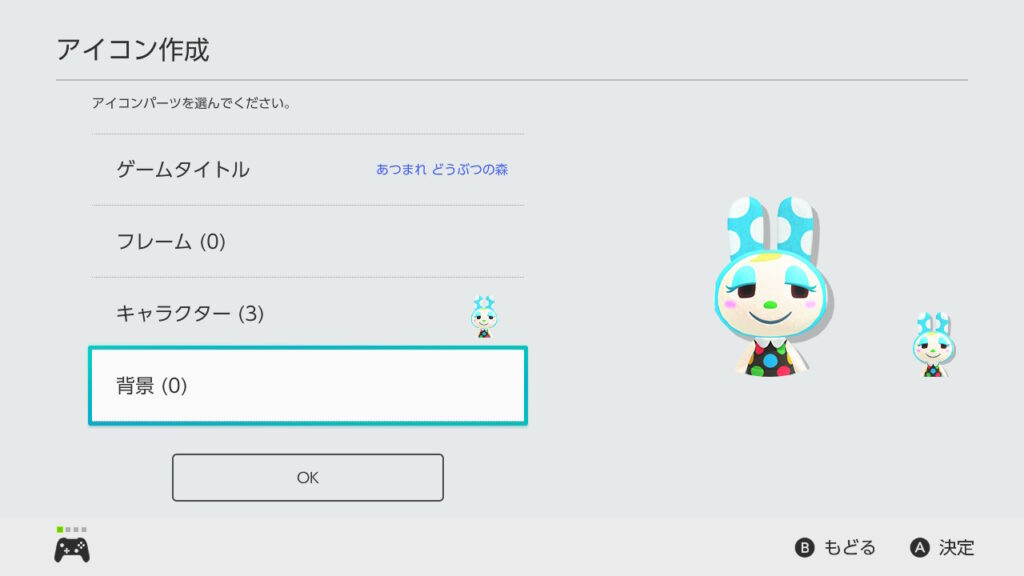
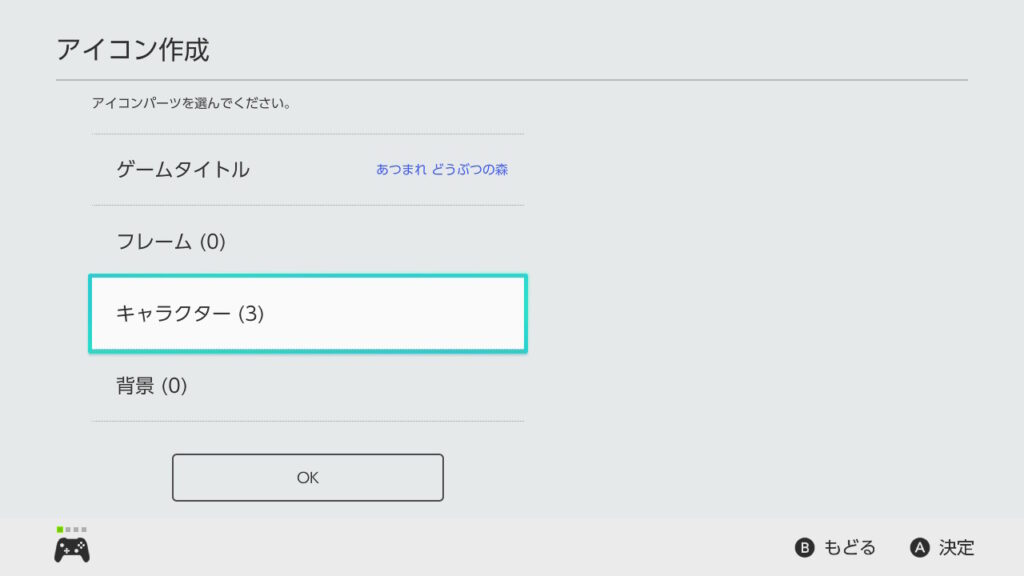
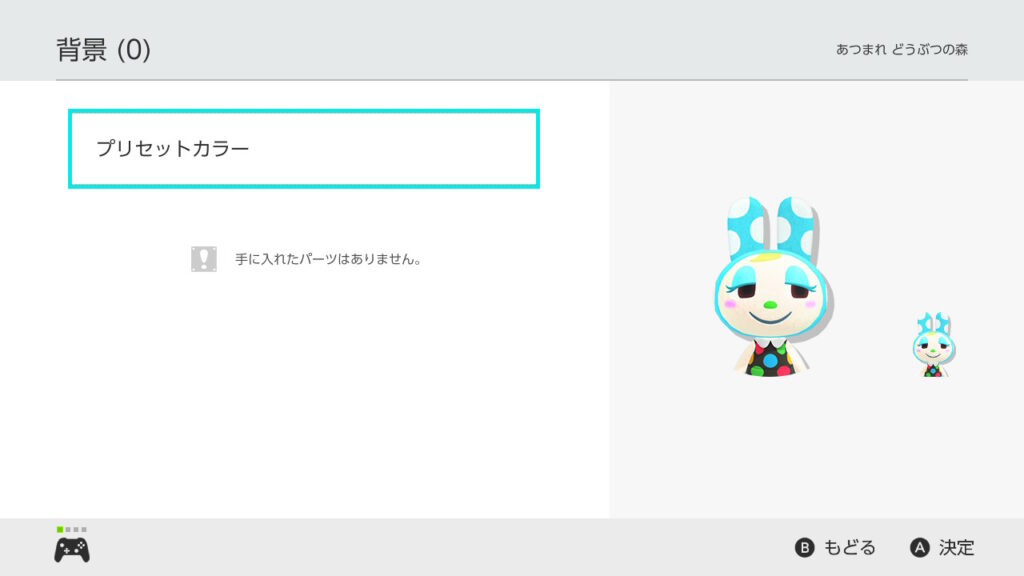
「ゲームタイトル」と「キャラクター」は既に決めているので、「背景」を選びます。
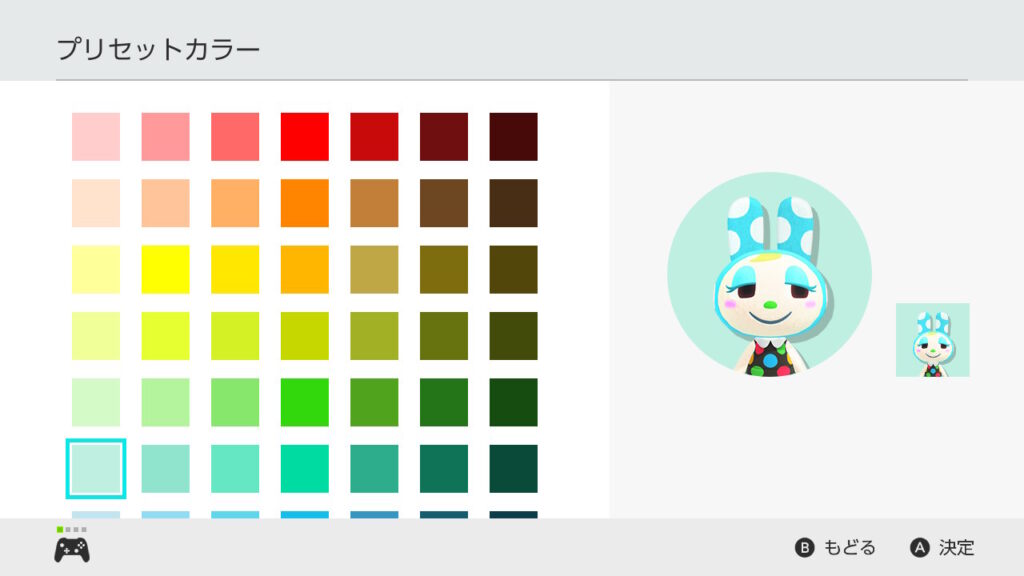
「プリセットカラー」を選びます。

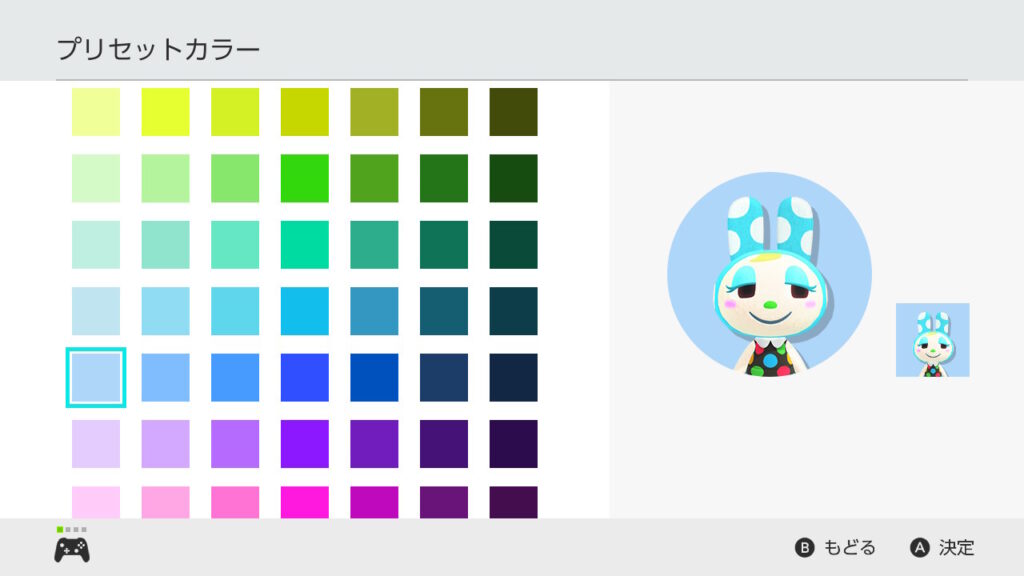
カラーパレット一覧から好きな色を選んでください。画面右側にサンプルが表示されます。Aボタンで決定します。
背景が決まったら、「OK」を選びます。
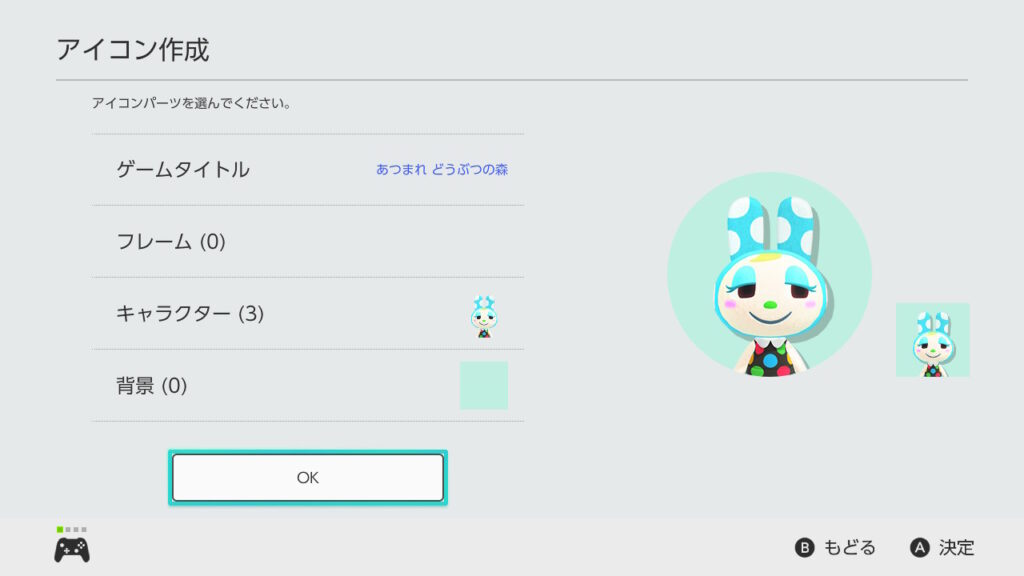
作成したアイコンが設定されます。
HOME画面からアイコン作成画面へ移る方法
アイコン作成は、自分の好きなタイミングで行うことができます。
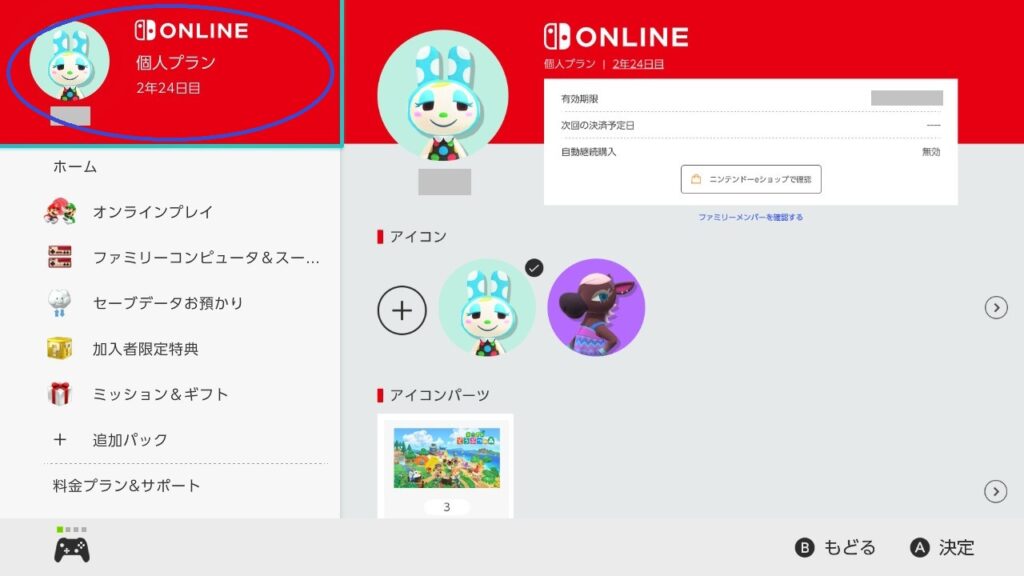
HOME画面から、「Nintendo Switch Online」を選びます。
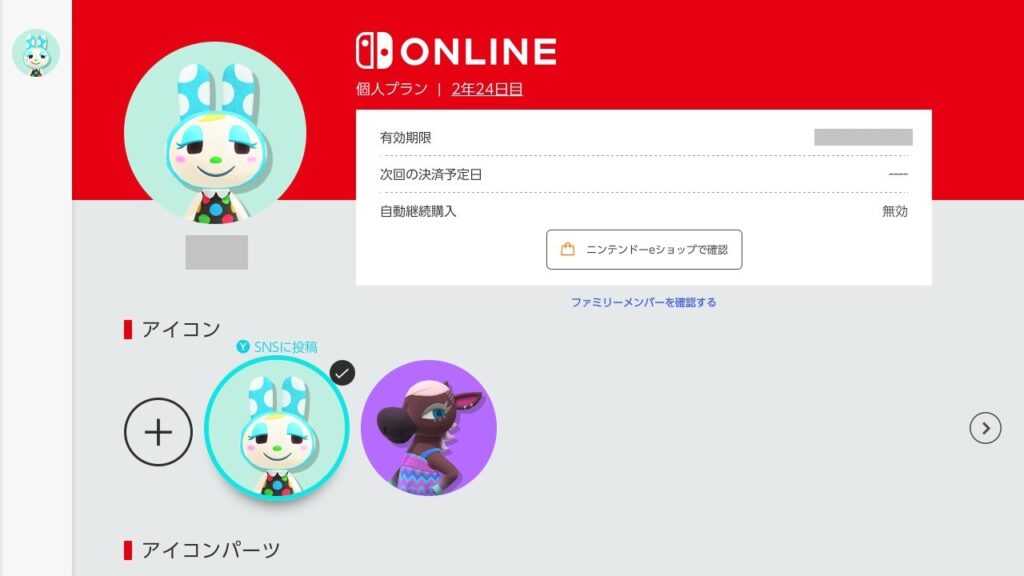
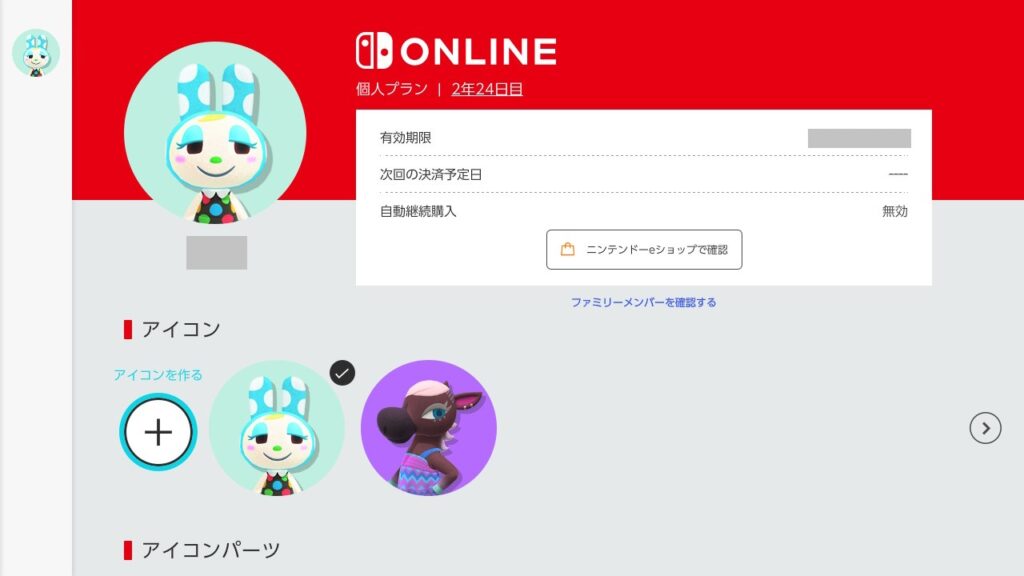
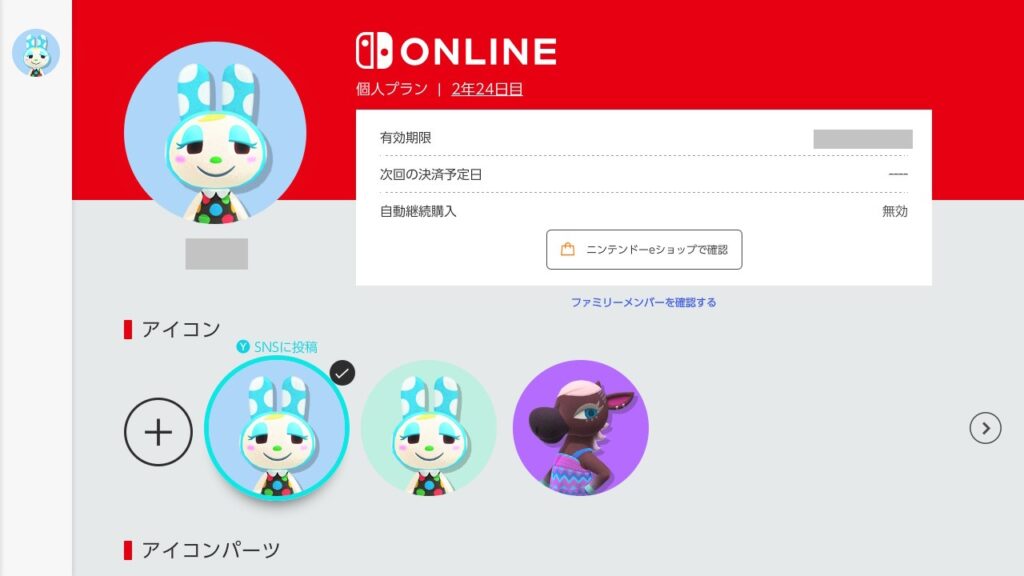
一番上の自分のアイコンを選びます(青丸の部分)。
「アイコン」の欄から、+マーク(アイコンを作る)を選びます。
アイコンに使用するゲームタイトルを選びます。パーツを入手済みのゲームタイトルが表示されます。ここでは「あつまれ どうぶつの森」を選びます。
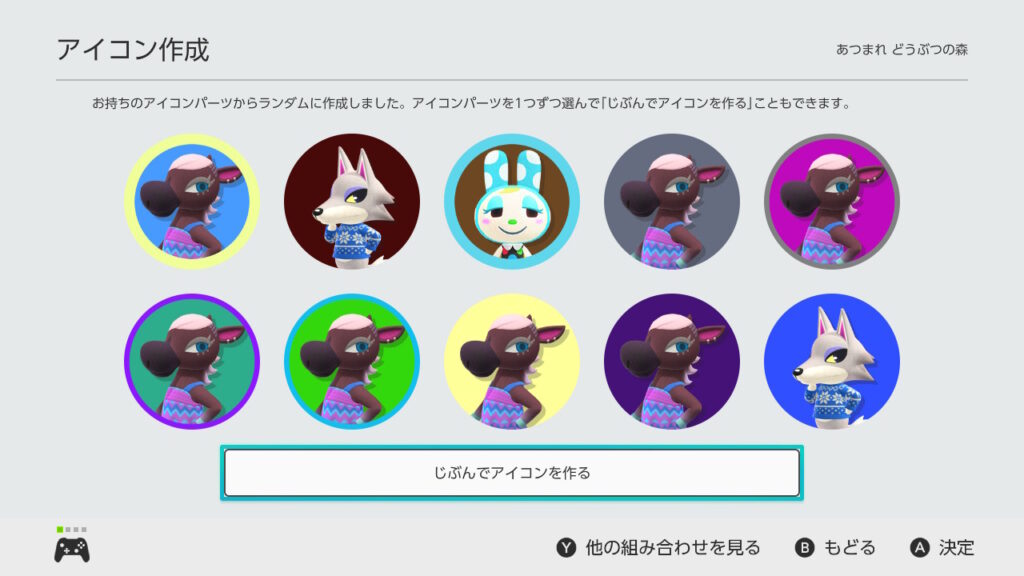
手持ちのアイコンパーツから、ランダムでアイコンが作成されます。自分でカスタマイズしたいので、「じぶんでアイコンを作る」を選びます。
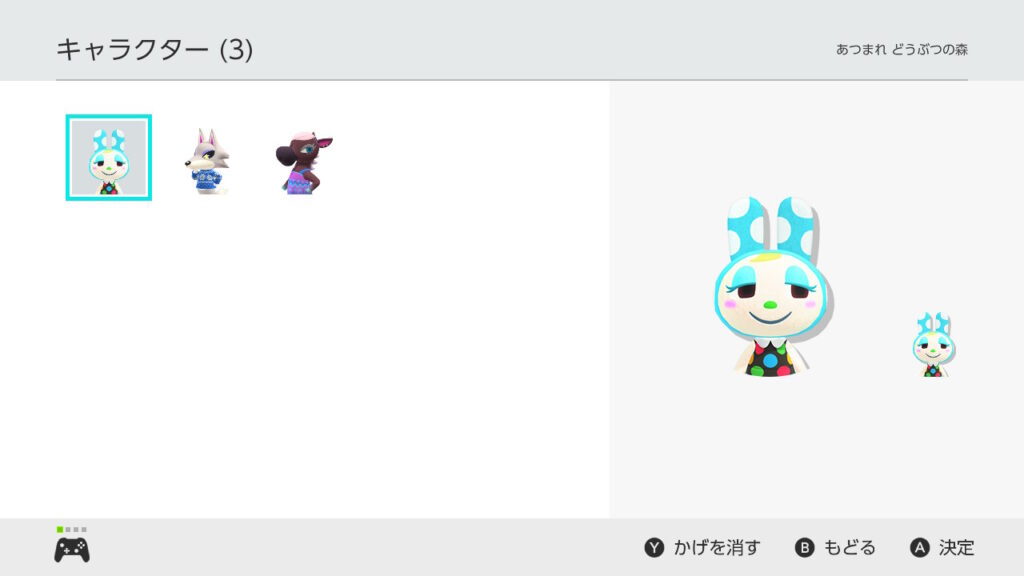
「キャラクター」を選びます。
手持ちのキャラクターパーツが表示されます。先ほど入手した「フランソワ」を選んでみます。
キャラクターを決めると前画面に戻ります。次は「背景」を選びます。
「プリセットカラー」を選びます。
カラーパレット一覧から、背景にしたいカラーを選びます。ここでは、先ほどと色味が異なる水色を選んでみます。
背景を決めると前画面に戻ります。「OK」を押して、アイコンを作成します。
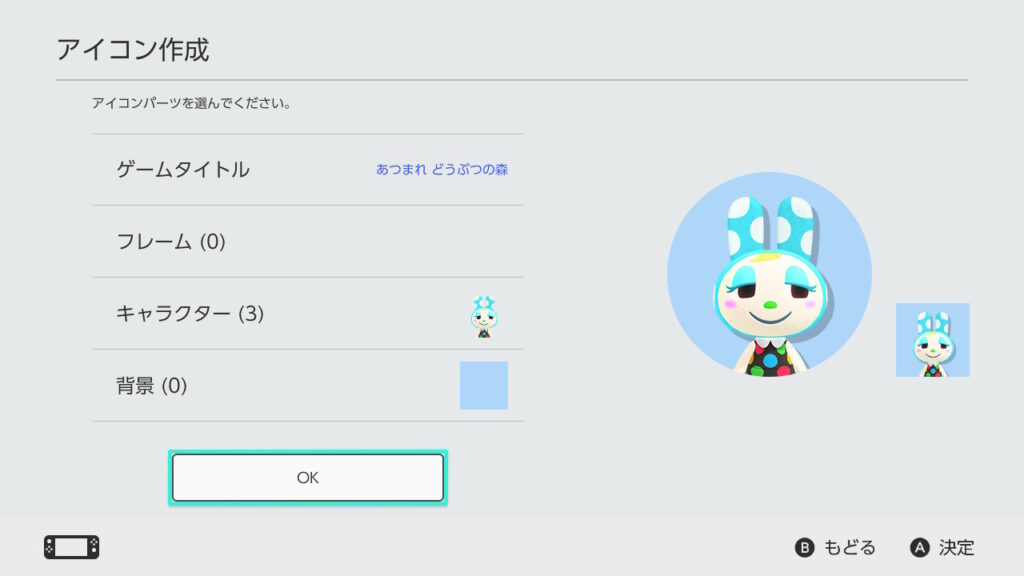
新しいアイコンが作成され登録されます。
プリセットアイコンに戻す方法
プリセットアイコンに戻したくなった時の方法も書いておきます。
HOME画面を開いて、左上のマイページを選びます。
「プロフィール」を選びます。
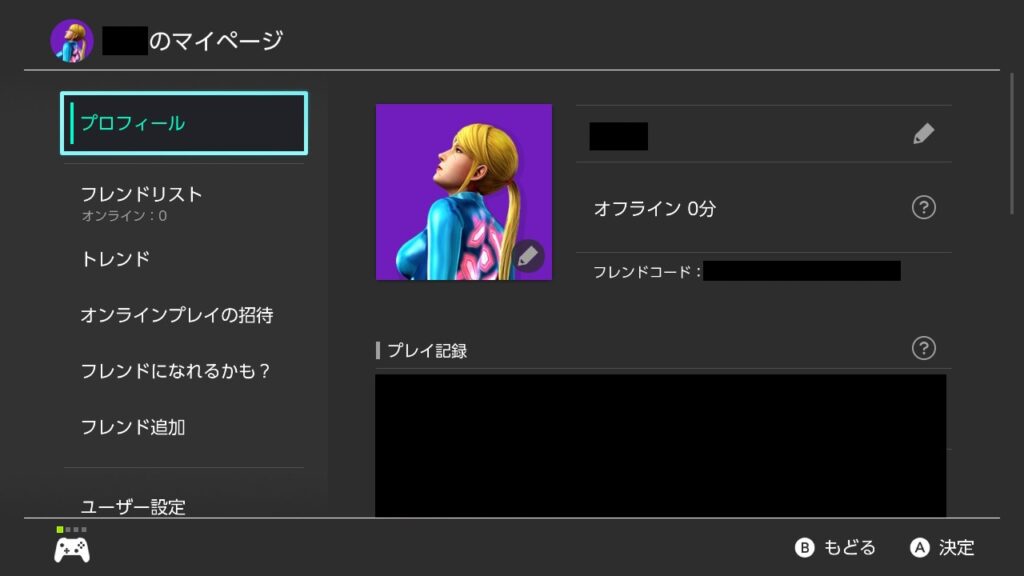
右側のアイコンにカーソルが動きます。このままAボタンを押して選択します。

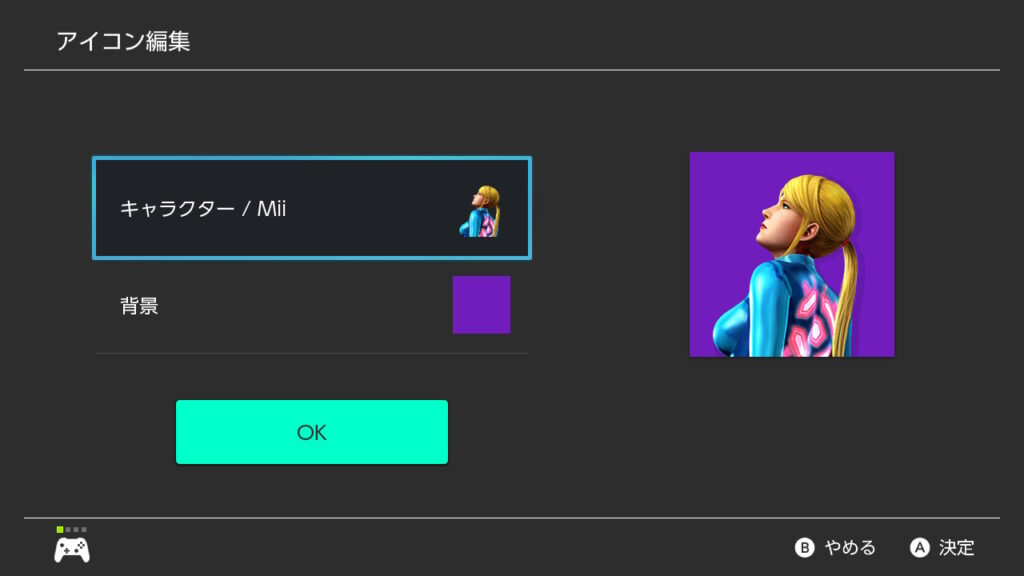
アイコン編集画面に入ります。「キャラクター/Mii」からプリセットアイコンを選んで、「背景」から背景色を選んで、「OK」を押すと変更できます。
コメント